A Developer's Guide to a Shopify to BigQuery Data Sync
Pulling data from your Shopify store into a data warehouse like BigQuery is a powerful way to unlock deeper business insights. As a developer, the process involves more than just running a script—it's about setting up a robust, secure, and reproducible workflow.
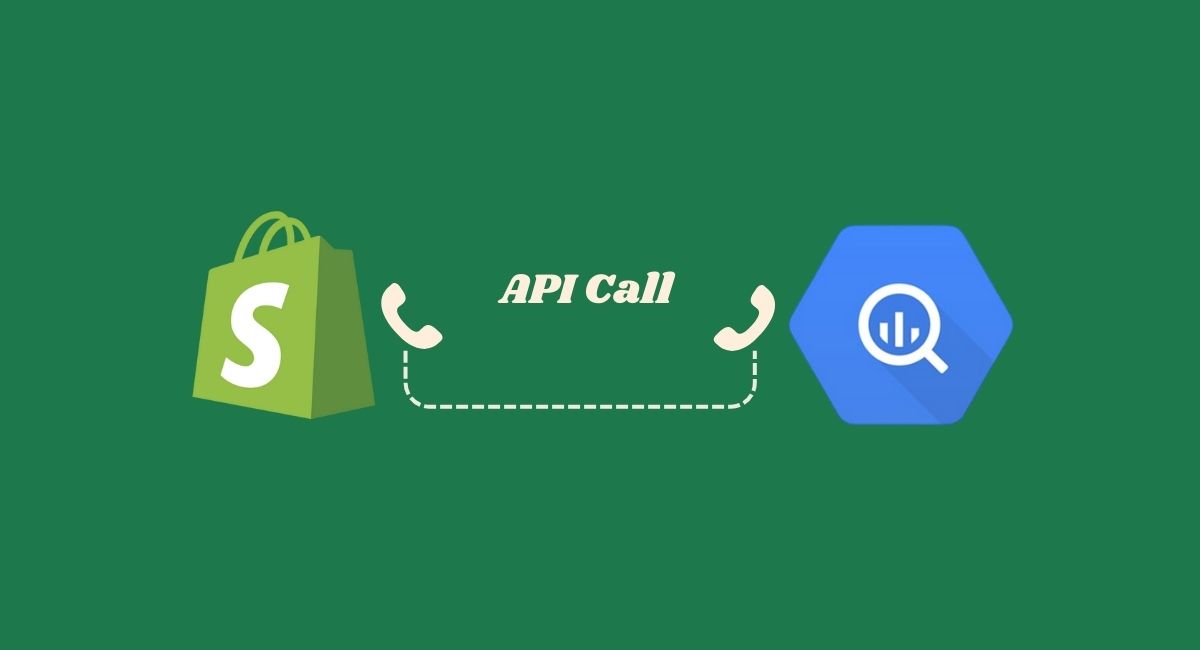
This guide will walk you through the entire process, including how to connect your code to GitHub, how to find the necessary API keys, and how to troubleshoot common issues.
1. Setting Up Your Development Environment
Your local setup is the foundation of this project. A popular choice is VS Code because of its robust features and seamless Git integration.
-
Clone the Repository: Start by forking the external repository on GitHub to your own account. Then, clone your fork to your local machine using VS Code's built-in terminal.
git clone https://github.com/your-github-username/your-repo-name.git cd your-repo-name -
Install Dependencies: The script relies on a few Python libraries. Install them by running this command in your terminal:
pip install -r requirements.txt
2. Defining Your API Credentials
To connect to Shopify and BigQuery, your script needs access to your credentials. Storing them in a .env file is a critical security practice that keeps your secrets out of your code and prevents them from being accidentally committed to Git.
Create a file named .env in the root directory of your project (at the same level as the scripts folder).
Project Structure:
your_project_name/
├── scripts/
│   ├── shopify_bigquery.py
│   └── test_connection.py
├── .env  <-- This is where the file goes
└── requirements.txt
Inside the .env file, define the following variables, replacing the placeholders with your actual information:
SHOPIFY_SHOP_URL=your-shop-name
SHOPIFY_ACCESS_TOKEN=your-access-token
GOOGLE_CLOUD_PROJECT_ID=your-project-id
GOOGLE_APPLICATION_CREDENTIALS=./path/to/your/service-account-key.json
3. How to Get Your API Tokens
Shopify Access Token
You get this token by creating a Custom App in your Shopify admin. This process generates a unique, private token that you'll use for authentication.
- Log in to your Shopify admin and navigate to Settings > Apps and sales channels.
- Click "Develop apps" and then "Create an app".
- Give it a name and click "Create app".
- Go to the "Configuration" tab to set the Admin API access scopes. You must select the permissions your script needs to read data (e.g.,
read_orders,read_products,read_customers). - After saving the scopes, go to the "API credentials" tab and click "Install app".
- You will be presented with your Admin API access token. This token is shown only once, so copy it immediately and paste it into your
.envfile.
BigQuery Access Token
For server-to-server authentication with BigQuery, you don't use a traditional access token. Instead, you create a Service Account and download its private key file. Your script uses this file to authenticate securely.
- Go to the Google Cloud Console and navigate to IAM & Admin > Service Accounts.
- Click "Create Service Account". Give it a name and a description.
- Grant it the necessary permissions. For this project, the
BigQuery Adminrole is a safe choice to ensure it has all the necessary permissions. - After the service account is created, click on its email address to view the details.
- Go to the "Keys" tab, click "Add Key" > "Create new key", and choose JSON as the key type.
- Your browser will download a JSON file. This is your private key. Move it into your project folder and update the
GOOGLE_APPLICATION_CREDENTIALSvariable in your.envfile with its path.
4. Generate the Python Scripts
If you don't have the Python scripts already, you can use the following prompt to generate them with any large language model. Simply copy the text below and paste it into your favorite LLM's prompt box.
Generate two Python scripts in a single code block.

The first script should be named `shopify_bigquery.py`. This script must:
1.  Use the `dotenv` library to load environment variables.
2.  Authenticate to the Shopify Admin API using the access token from the environment.
3.  Authenticate to Google BigQuery using a service account JSON key file from the environment.
4.  Fetch data for `orders`, `customers`, and `products` from the Shopify API, including handling pagination.
5.  Load the fetched data into separate tables in a BigQuery dataset named `shopify_data`.
6.  Use the `WRITE_TRUNCATE` disposition to overwrite the tables on each run.
7.  Include a simple `main` function and an `if __name__ == "__main__"` block.
8.  Add comments to explain the code.

The second script should be named `test_connection.py`. This script must:
1.  Also use the `dotenv` library.
2.  Perform a simple `GET` request to the Shopify API's `shop.json` endpoint to test if the credentials are valid.
3.  Print a success or failure message based on the response.
Place both scripts one after the other in a single code block, separated by a comment line.
5. Troubleshooting and Final Steps
The most common issue is a mismatch in variable names. If you see an error like ❌ Missing Shopify credentials in environment variables, it means the script couldn't find a key in the .env file with the exact name it's looking for. For example, if the script expects SHOPIFY_SHOP_URL but your .env file says SHOPIFY_SHOP_NAME, it will fail.
With everything correctly set up, you can now run the main script.
python scripts/shopify_bigquery.pyAfter a successful run, your data will be in BigQuery. The next step is to explore it in the BigQuery console by running your first SQL queries.